User data assists businesses in better understanding their consumers and providing better products and services. This data may sometimes become too big and difficult to handle. With Floatchat’s segment feature, you can apply metrics and target a certain set of audiences based on a given parameter. In this scenario, a bot builder would need to filter and create a group of users who fulfill the given criteria.
floatchat provides this functionality to their users by giving them the ability to set a combination of conditions within the attributes and conversations
2. Availability
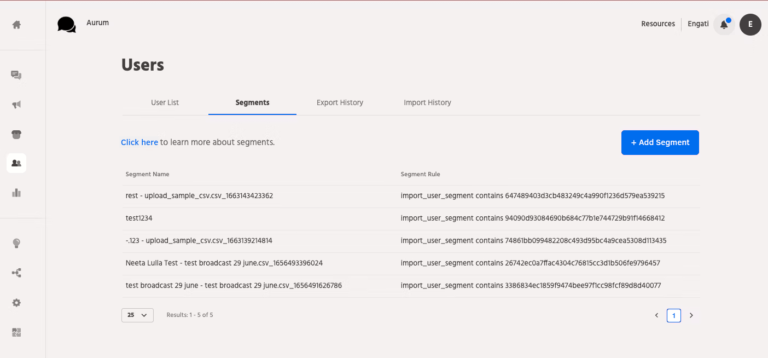
This feature is available under users>segments
3. Setup
This feature is available under users>segments
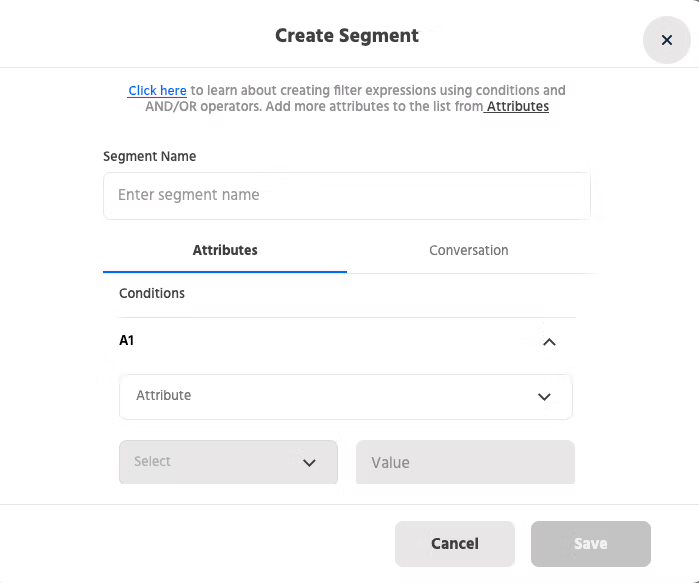
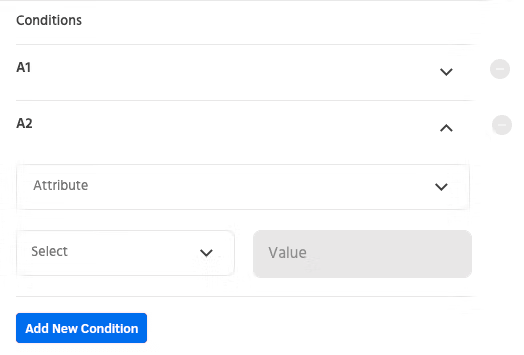
3.1 Add segment
Click on ‘Add Segment’. You get an option of adding a name to your segment. Below that, you get two options – ‘Attributes’ and ‘Conversation’.
3.2 Attributes
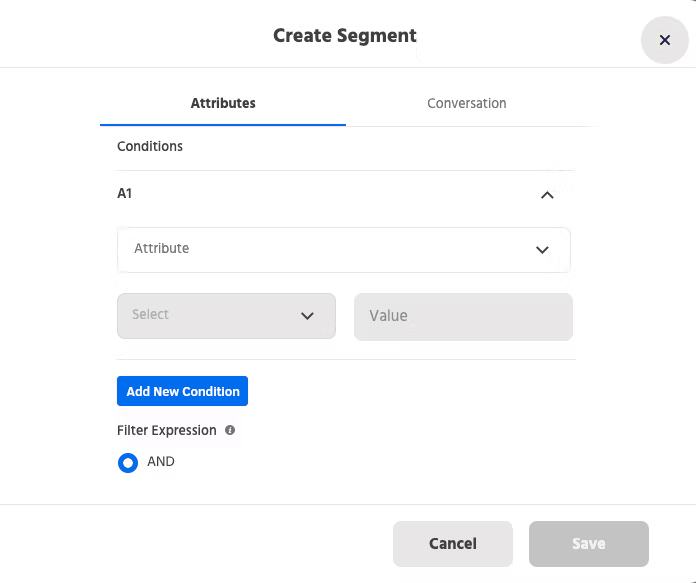
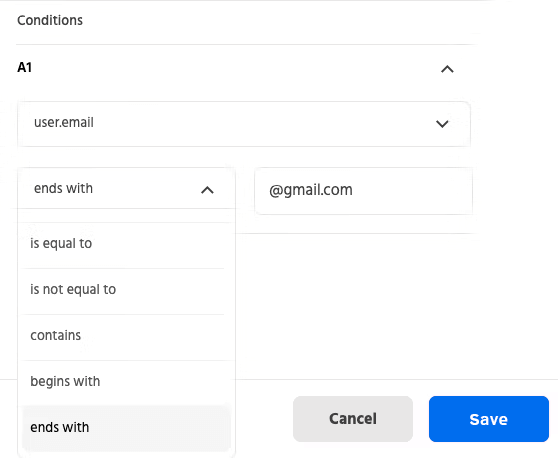
Conditions: You can set conditions between your or system-created attributes. Select an attribute from the dropdown menu and set the condition and value for it.
Add new condition: You can add multiple conditions using the “Add new condition” button.
Filter Expression: Using this option you can add logical expressions such as ‘AND’, ‘OR’ between the conditions that you’ve created.
3.3 Conversation
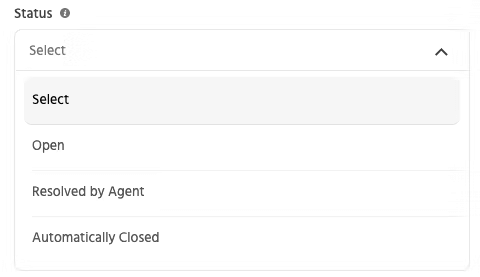
Status: Select the latest status for a chat from the dropdown menu
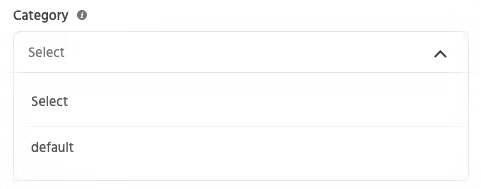
Category: Select the category of your users from the dropdown menu. You can select the category as ‘default’ or can add a new category by creating it under Configure>Live chat>Team categories
Tag: Select the tag which you’ve created for the users while handling the conversation on one view inbox.
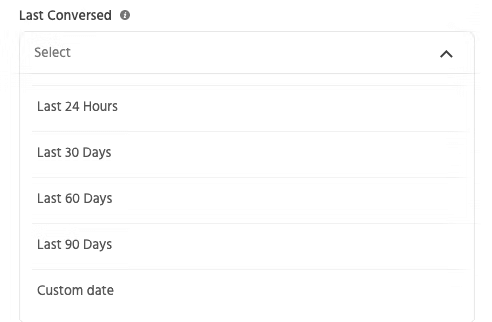
Last Conversed: You can choose the time/date frame for your conversations based on when you last spoke with them. You also have the option of choosing a custom date frame. It’ll consider the conversations up to the last 3 months.
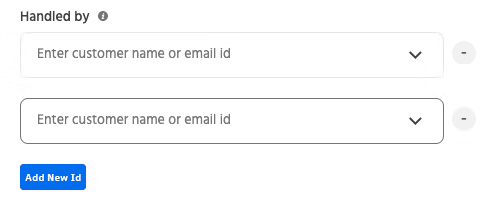
Handled by: You can type or select the name/email id of the agent who has handled those specific conversations. Multiple agents can be added by clicking on the ‘Add new id’ button
Similarly, you can select the agent for Resolved by and Transferred by section.