Introduction: #
WooCommerce is a popular e-commerce platform that empowers businesses to effortlessly create and manage online stores. Built on top of WordPress, it offers extensive customization capabilities through plugins and themes. Floatchat now provides a seamless integration with WooCommerce, enabling you to automate tasks such as order notifications, abandoned checkout reminders, feedback collection, and reordering, ultimately boosting sales and expanding your business.
Availability: #
To access the Floatchat integration, navigate to Integrations > Cloud Integrations in the Floatchat portal.
Setup:
- Installing Floatchat Plugin on your WordPress Store:

- Log in to your WordPress store and go to the Plugin tab in the WordPress admin panel.

- Click on the “Add New” button next to the Plugin heading on the top left.

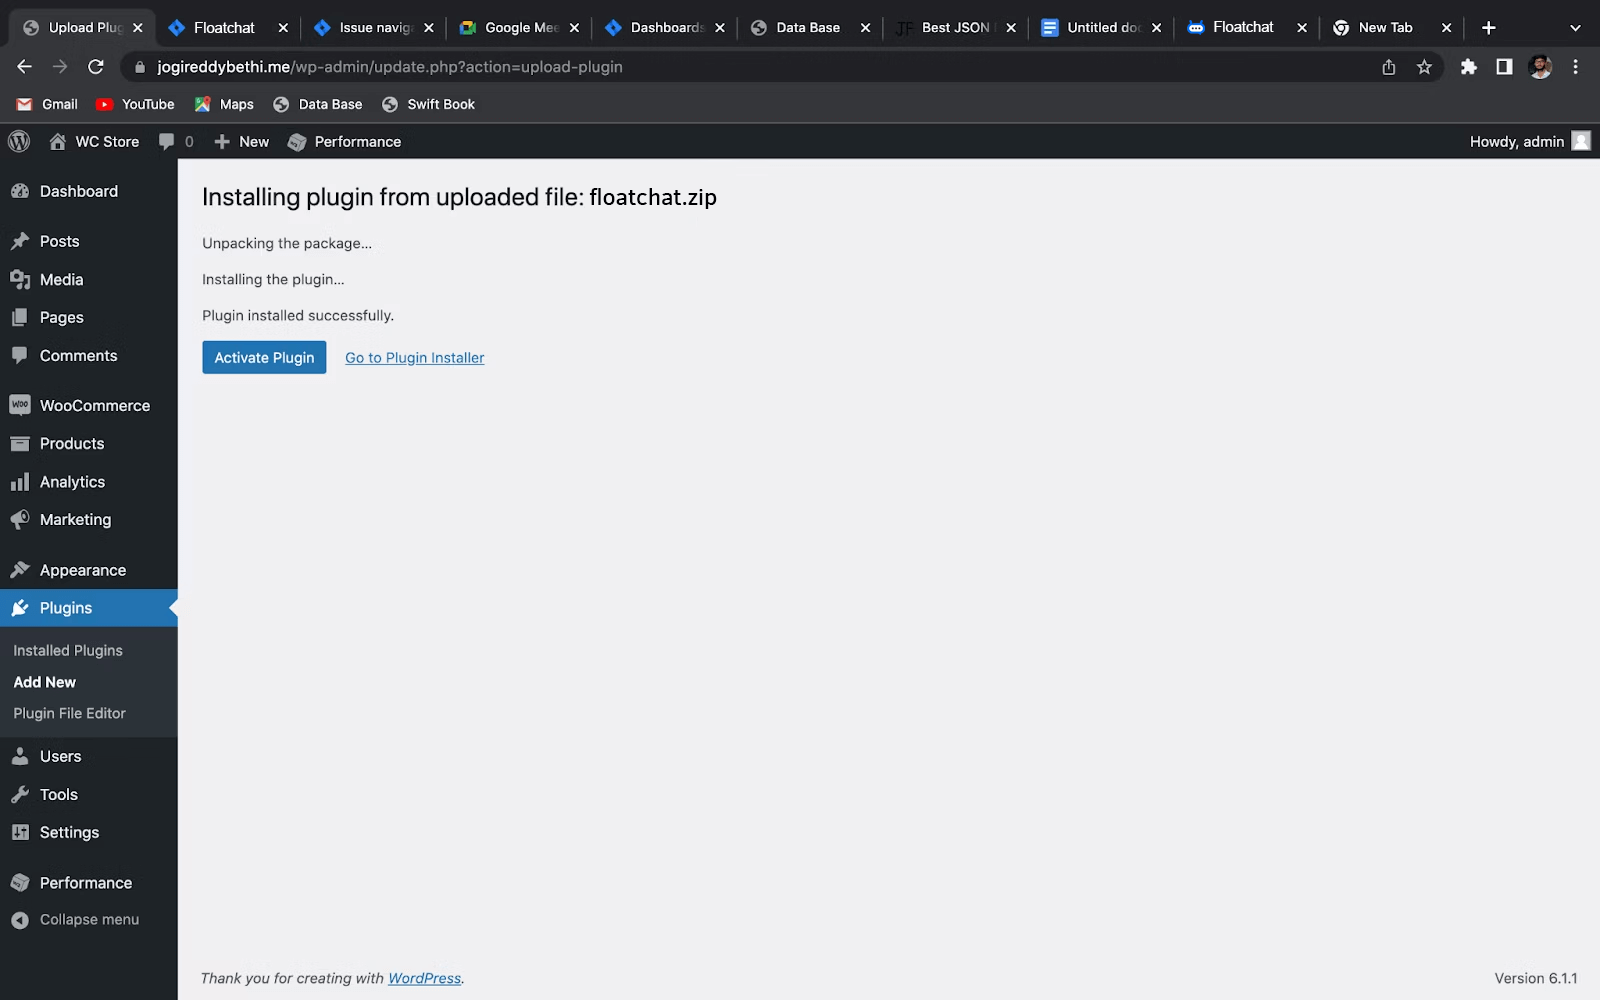
- Click on the “Upload Plugin” button next to the “Add Plugins” heading, and upload the Floatchat plugin zip file. Click “Install now” and then “Activate Plugin”.

- Generating an API key:

- In your WordPress store, go to WooCommerce > Settings > Advanced.
- Select the “REST API” option and provide the necessary key details:
– Description: Assign a name to identify the key.
– User: Select an owner for the key.
– Permissions: Restrict the key access by choosing between Read and Write permissions.
- Click the “Generate API key” button to generate a Consumer key, Consumer secret, and QR Code. Make sure to save the generated keys for future use.
- Setting up a WooCommerce account on the Floatchat Portal:

- Go to the Floatchat portal at [Floatchat portal URL] and fill in the required fields. Click on “Create Account”.
- Once you have created and set up your bot on the Floatchat portal, go to the Integrations section and click the connect button for WooCommerce.
- Fill in the details based on the information generated from your WordPress store:
– Account name: Assign a name to your account.
– Site Address: Copy the entire site address up to the “wp-admin” keyword. Make sure to include a slash (“/”) at the end of the URL. Please note that only one account can be integrated with the site address at a time.
– Consumer key & Consumer Secret: Copy and paste the keys generated from your WordPress store.
Click on “Connect” to finalize the setup process.
By following these steps, you can seamlessly onboard and deploy Floatchat for WooCommerce, leveraging its capabilities to automate tasks and streamline your e-commerce operations.
If you have any further questions or need assistance, please feel free to ask!


