Slack
1. Introduction
A cloud-based set of team collaboration tools and services, Slack brings all your communication together in one place. It’s real-time messaging, archiving, and search for modern teams. Floatchat allows you to connect the world to your bot on Slack. Any users interacting with the app will be able to access the conversational flow you set up for your bot and answer any FAQs you train the bot for.
2. Access to Setup
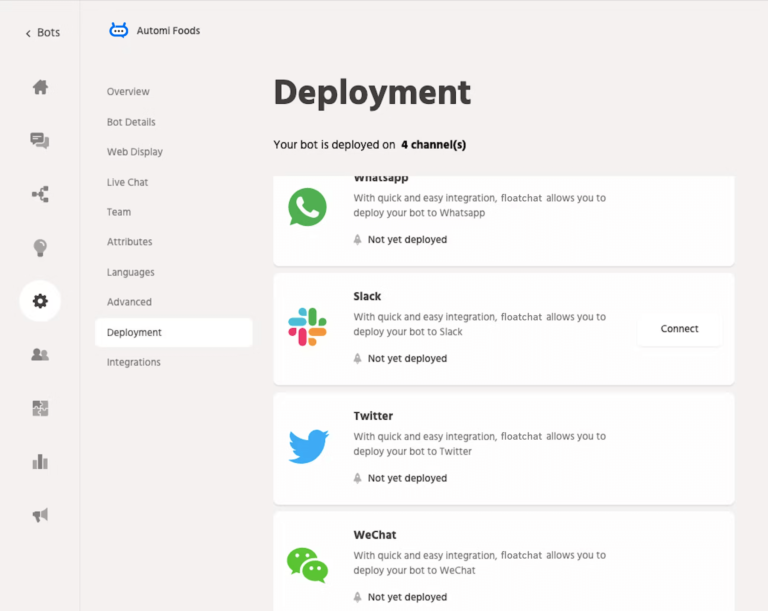
Access Slack as a channel under Configure>Deployment>Slack

3.Steps to configure Slack as a Channel
3.1 Creating an Application

To have your bot on Slack you will have to deploy it as an app in it, click on the following URL https:/api.slack.com/app to login into Slack and create a new App. Upon clicking on Create New App the following window will pop up, select From Scratch.

3.2 Create an App name.
For example – Sample

After entering the App Name and selecting the workspace click on Create App.
3.3 Enabling Oauth and Permissions
Navigate to Oauth and Permissions setting present under the Features tab on the left-hand side.

3.4 Under the Scopes section there will be two options
Bot Token Scopes – Scopes that govern what your app can access
User Token Scopes – Scopes that act on behalf of Users that authorize them.

Enable the following by clicking on Add an OAuth Scope for both Bot Token Scopes and User Token Scopes.
i) im:history
ii) im:read
iii) im:write
3.5 The next step would be to navigate to OAuth and Permissions and add a redirect link for your bot. You can find this link under Configurations>Deployment>Slack in the Redirect URL field. Once added click on the Save URLs button.


3.6 Once done select Event Subscriptions and toggle the Enable events button to on.
Add the request URL present in the Floatchat portal and then add the following events –
Subscribe to bot events – message.im Subscribe to the event on behalf of users – im_created Click on Save changes.
3.7 Click on Interactivity & Shortcuts and toggle the button to on. Enable Interactivity & Shortcuts by copying the Request URL from the Floatchat Portal.

3.8 The next step would be to navigate to OAuth and Permissions and enable them by clicking on Request to Install and Submit the request

3.9 Navigate to the App Home tab under the Features panel. In the Show Tabs, check the box that reads ‘Allow users to send Slash commands and messages from the messages tab’ under the Messages tab.

3.10 Navigate through the Basic information under the Settings tab and copy the following and paste it into the Floatchat Portal.
i) Client ID
ii) Client Secret
iii) Verification Token

Once done click on ‘Save Changes’. After the details have been saved click on the ‘Add to Slack’ button and your bot is now ready to interact on Slack.
