LINE is a freeware app for instant communication on electronic devices such as smartphones, tablets, and computers. LINE users exchange texts, images, video, and audio, and conduct free conversations and video conferences. Your business is growing and you want to automate most of the workflows, creating a chatbot for it would be really helpful, and deploying it on your primary channel of communication would be amazing. Floatchat helps you deploy your bot on Line.
1.1 Access to Setup
1.1.1 To access the setup for Line, navigate to Configure> Deployment> Line on the Floatchat portal.
2. Steps to configure the bot to function on Line
See below for detailed steps for deploying the Bot on Line
2.1 Account Registration
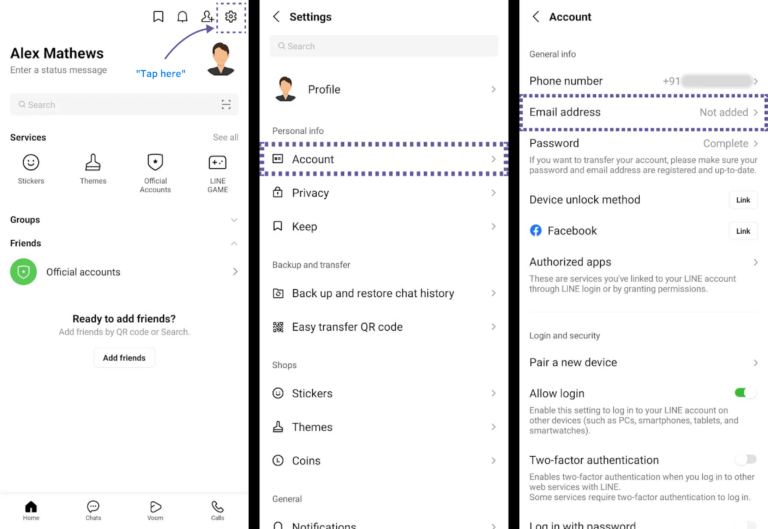
2.1.1. Set up your LINE account on mobile as shown below.
2.1.1. In the LINE mobile app, go to Settings > Account > Email Account Registration to create an account.
2.1.2 Go to Settings > Account > Email Account Registration to create an account.
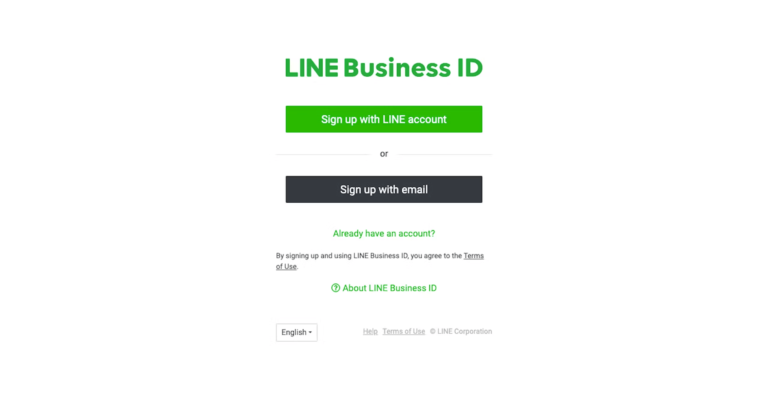
2.1.3 In a browser, log in to the LINE business centre and complete registration.
2.2 Setting up Messaging API
2.2.1 Click the Start using Messaging API button from your line developers account.
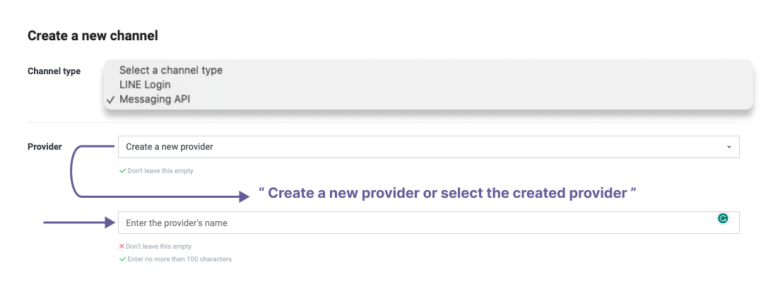
2.3 Channel Type and Creating a Provider
2.3.1 Select the channel type as ‘Messaging API’ and Enter the Individual or Company Name as Provider.
2.3.1 Enter Individual or Company Name as Provider
2.3.2 Enter the following information on the page:
Channel Icon
Channel Name
Channel Description
2.3.2 Click Next Page and enter the following information on the page:
– App Icon – App Name – App Description – Select Free plan ** – Category and Subcategory for your business type
2.4 Important Notes
Select a Category and Subcategory for your business type
Enter the Email address for bot notifications and announcements.
– Enter the Email address for bot notifications and announcements. – PUSH_MESSAGE & REPLY_MESSAGE APIs are necessary to configure the Line channel on Floatchat. Please verify if access to these APIs are available with Free plan in your region, else choose an appropriate plan (Developer/Pro plan)
2.4.1 Accept the LINE ‘Terms of Use’, ‘API Terms of Use’ & Click Confirm.
– Enter the Email address for bot notifications and announcements. – PUSH_MESSAGE & REPLY_MESSAGE APIs are necessary to configure the Line channel on Floatchat. Please verify if access to these APIs are available with Free plan in your region, else choose an appropriate plan (Developer/Pro plan)
2.4.2 Click on the Messaging API channel to continue the configuration
2.5 Channel Access Token
2.5.1 Scroll down and inside messaging settings go to Channel access token (long-lived) and click on the ‘Issue’ button.
2.5.1 Scroll down and inside messaging settings go to Channel access token (long-lived) and click the Issue button.
2.6 Updating Access token
2.6.1 Copy the Channel Access Token from the Line developer and paste it in the Floatchat portal, Configure-> Deployment-> Line.
2.7 Enabling Webhooks
2.7.1 Edit the webhook URL and paste the webhook URL from your Floatchat portal,
Configure->Deployment->Line.
2.8 Disabling auto-reply from Line
2.8.1 Disable Auto-reply messages and Greeting messages from the Messaging settings.
2.8.1 Disable Auto-reply messages and Greeting messages from the Messaging settings. 2.8.2 Once you’ve done this, click the Verify button to send a test call to your agent. If all goes well, you’ll see a blue tick with Success Message
2.8.2 Once you’ve done this, click the Verify button to send a test call to your agent. If the configuration is done properly then You’ll see a ‘Success Message’.
2.8.3 Enable the ‘Use webhook’ option present below.
2.9 Testing
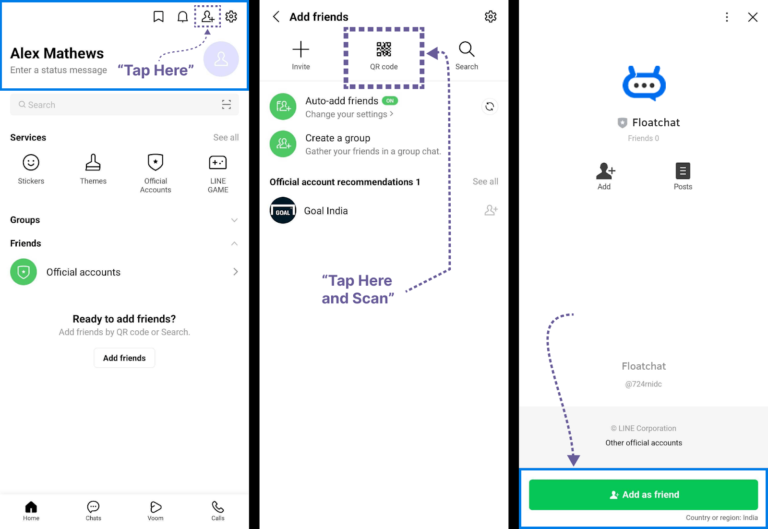
2.9.1 To test your agent, tap on the three horizontal dots on the main screen of the LINE app. Then tap the QR code icon and scan the QR code on the settings page of your bot. This will add your bot to the list of conversations.
Note: At present Line doesn’t allow more than four options in a ‘Send message with option node’.
This is how your bot flow appears to the end-user on the LINE app: