Nodes
1. Introduction
Nodes are a building block of the conversation flow being designed as per the intended user journey for the chatbot’s end user. The various types of Nodes provided include –
Each node is a logical step in the path flow and is represented on the canvas by a different color and consists of additional elements depending on the type.
For example, a Send Message will show a preview of the message on the canvas whereas a Carousel will show the various cards as part of the Carousel.
1. Types of nodes:
- Display Information Nodes: Floatchat provides a number of options to present information to the end user via the chatbot. These range from simple messages, images, carousel cards & more
- Data Input Nodes: Collecting information from engaging users is a key function of most chatbots. Floatchat makes it easy to do the same by providing a number of options to collect data using nodes like Request User Data, Identity Node & more
- Processing Nodes: Floatchat also provides a number of ways to handle & process information within the chatbot and to make conversation flow branching decisions
- Integration Nodes: A large number of Integration focused nodes are available ranging from JSON API Integration to standard nodes for out-of-box integration for Salesforce, Google Sheets & Calendar.
2. Adding a Node
A node can be added by clicking on the ‘Add node’ present at the top of the builder flow.

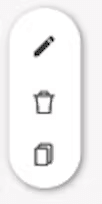
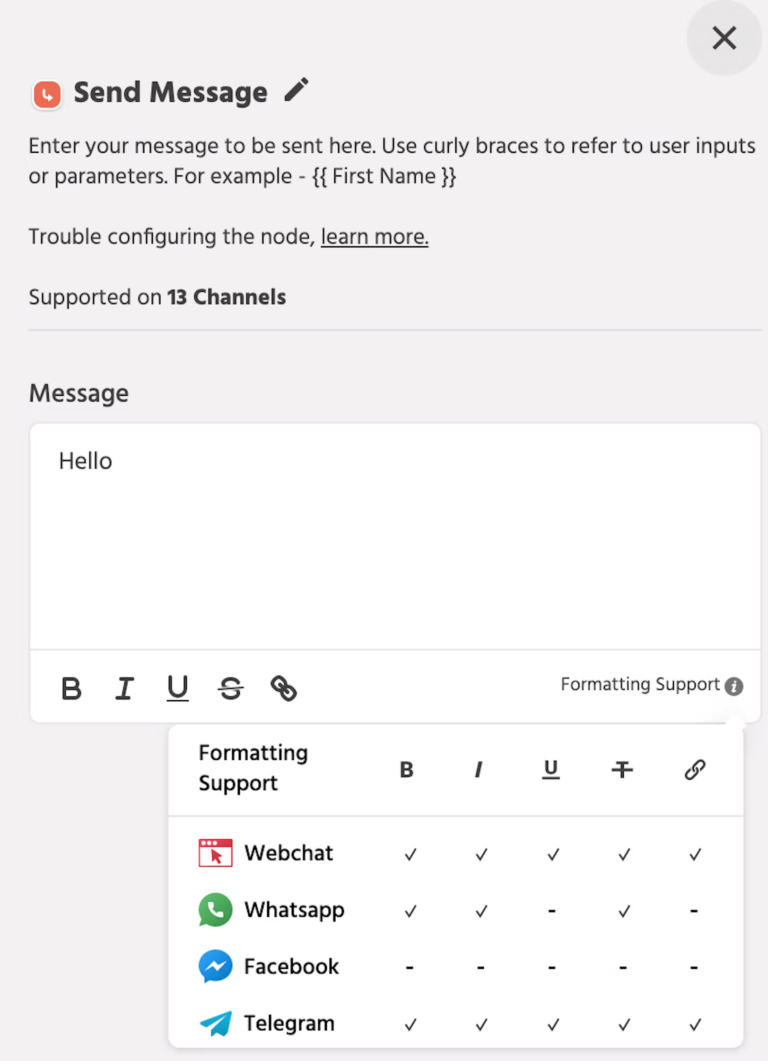
3. Editing a Node

4. Building Connections

5. Deleting a Node
6. Branching off to another Path
To redirect the flow to a different path, use the “Trigger Path” node and select the path that you would want the flow to be redirected to.

Each and every node has a certain limitation with respect to the channel over which it will be used, you can check the channels by hovering on the ‘Supported on 13 channels’.
Nodes are a building block of the conversation flow being designed as per the intended user journey for the chatbot’s end user. The various types of Nodes provided include –
Each node is a logical step in the path flow and is represented on the canvas by a different color and consists of additional elements depending on the type.
For example, a Send Message will show a preview of the message on the canvas whereas a Carousel will show the various cards as part of the Carousel.
1. Types of nodes:
- Display Information Nodes: Engati provides a number of options to present information to the end user via the chatbot. These range from simple messages, images, carousel cards & more
- Data Input Nodes: Collecting information from engaging users is a key function of most chatbots. Engati makes it easy to do the same by providing a number of options to collect data using nodes like Request User Data, Identity Node & more
- Processing Nodes: Engati also provides a number of ways to handle & process information within the chatbot and to make conversation flow branching decisions
- Integration Nodes: A large number of Integration focused nodes are available ranging from JSON API Integration to standard nodes for out-of-box integration for Salesforce, Google Sheets & Calendar.
2. Adding a Node
A node can be added by clicking on the ‘Add node’ present at the top of the builder flow.
3. Editing a Node
4. Building Connections
5. Deleting a Node
6. Branching off to another Path To redirect the flow to a different path, use the “Trigger Path” node and select the path that you would want the flow to be redirected to.
Each and every node has a certain limitation with respect to the channel over which it will be used, you can check the channels by hovering on the ‘Supported on 13 channels’.